Add your user mailboxes to Email Security . Each mailbox is associated to a user. The following methods are available for importing your Mailboxes:
You can import users’ email addresses as a bulk import using a .CSV file.
You can perform an Azure Active Directory synchronization.
You can perform an On Premise Active Directory synchronization.
You can manually add each mailbox from Products > Email Security > Mailboxes.
To manually add the Mailboxes follow the steps below:
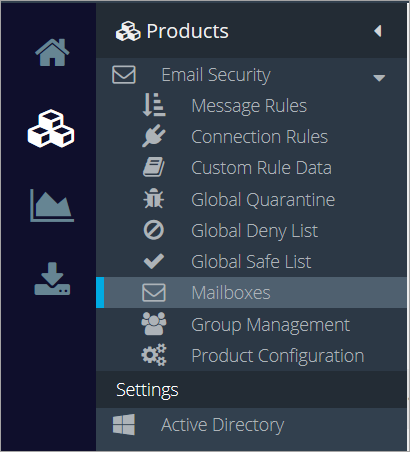
Go to Products > Email Security > Mailboxes.

Click the Add button and add an email address.
Note
A real name can be added to improve the chances of emails being correctly captured by Message Rules. This is currently only supported through Active Directory synchronization. Click here for a step by step guide on importing mailboxes from Microsoft Exchange Online
Press Enter.
Note
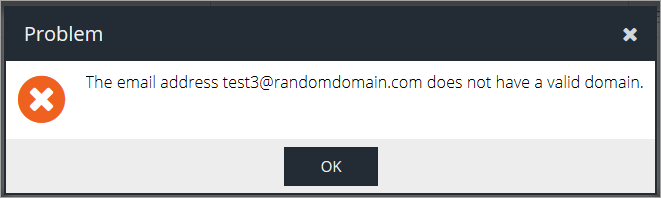
If the email adress is not on a domain that has previously been added it will result in an error message:
Configure the following settings:
Exec Tracking – enable this checkbox to mark the email as belonging to a company executive for the purpose of the Executive Tracking Condition.
Note
You can activate executive tracking for specific Active Directory groups from Group Management.
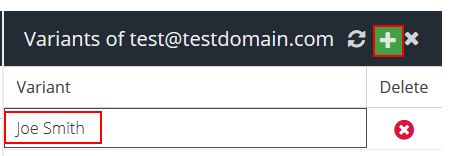
Manage Variants – add or remove multiple variants of a user’s name to improve tracking (name variations, maiden names, middle names, etc.).
To add a name variant click the Add button, type in the name variant and press enter.
To remove the variant click the Delete
button
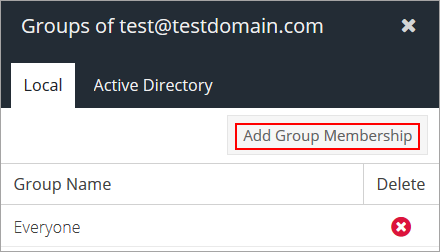
Groups – add or remove the user from specific Active Directory Groups
To add the user to a AD group click the Add Group Membership button, check the box for the group(s) you want to assign the user to and click Select.
To remove a user from a group click the Delete
button next to the group.
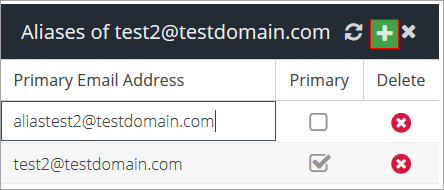
Aliases – add multiple email addresses to a single user.
Note
Aliases allow email destined for variants of the primary mailbox address to be accepted through the DHA rule.
To add a new email address to a user click the Add button, type in the email address and press Enter.
Note
You will have to mark one of the email addresses as primary by checking the box in the Primary column.
Repeat the process for any additional aliases belonging to this primary email address.
To delete an alias click the Delete
button next to the email address.